So today, I decided to take the easy route and use decals for my
nail art.
Plus I keep forgetting that I have a few items from the Born Pretty Store that I need to review, so since I don't have time to do two posts in one day, I'm going to kill two birds with one stone. Hope you don't mind :)
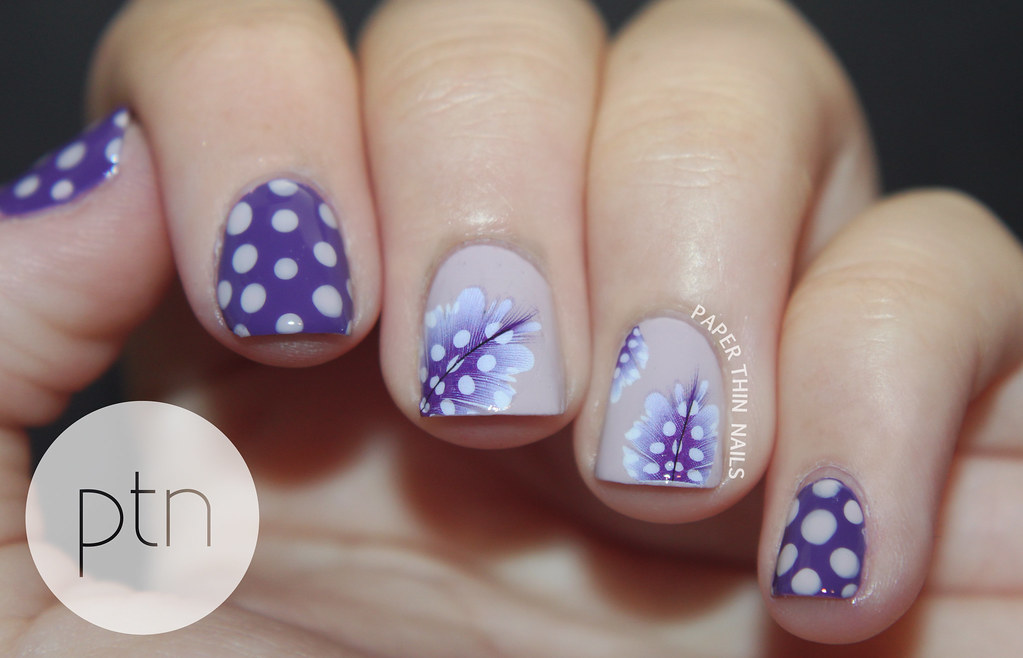
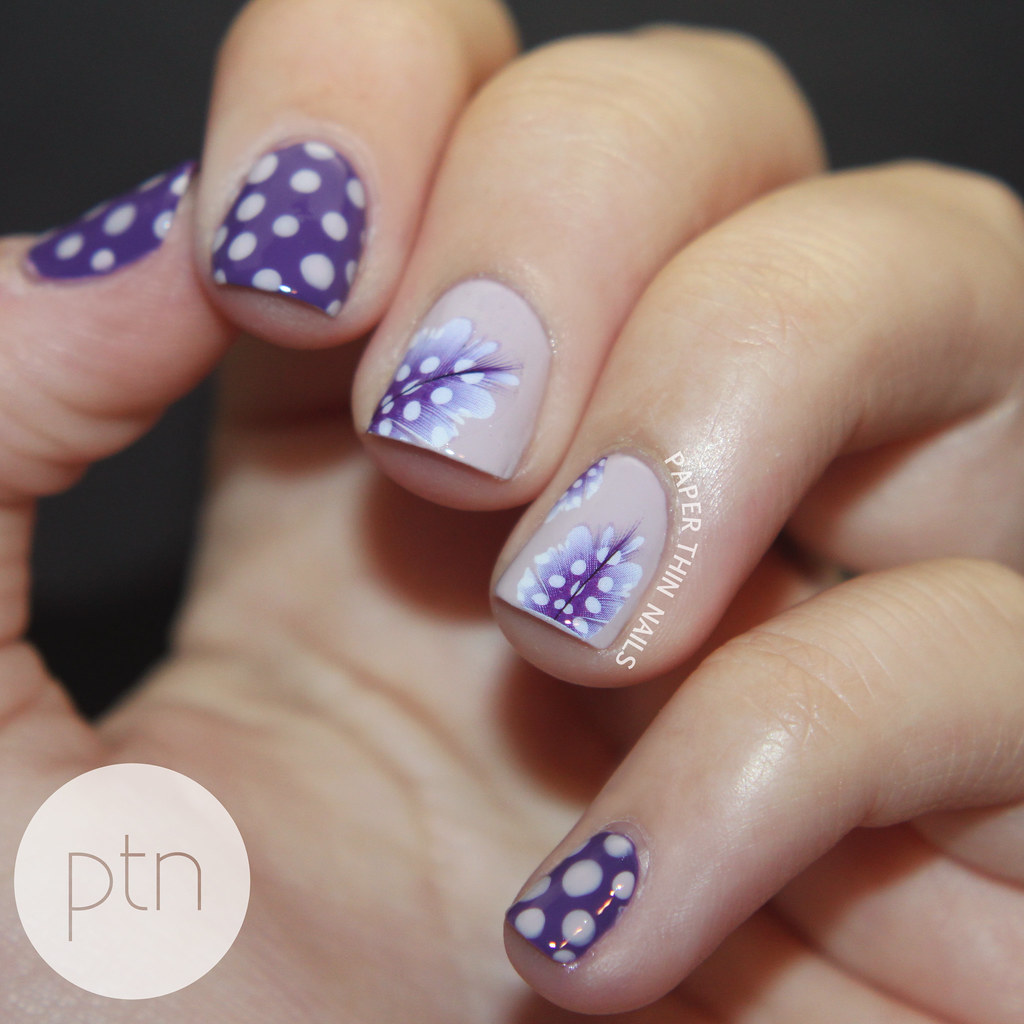
To be honest though, I kind of love these decals, or just any decals in general. They always look so good and they're so easy to apply. These purple (or "violet") feather decals were just perfect for todays prompt.
I did have a little trouble with lining that one decal up on the bottom of my nail, but it's not really a huge deal. This sheet of decals comes with a lot of different types and colors of feathers. The directions have some translation issues, as literally half the sentence was missing from the first step, but it's not too difficult to figure out.
You cut out the feather you want, remove the plastic from the top, put the decal in water for about 20 seconds, and use tweezers to get it out. Then carefully slide your finger across the decal to release it from the paper, dip your nail in water that you want to put it on, and finally place it on the nail. The directions say to use a blowdryer to dry your nail, but I never have done that and it's always turned out fine for me.
These
decals can be purchased from the
Born Pretty Store for $4.73. Make sure to use the code
NHL91 for 10% off you order :)
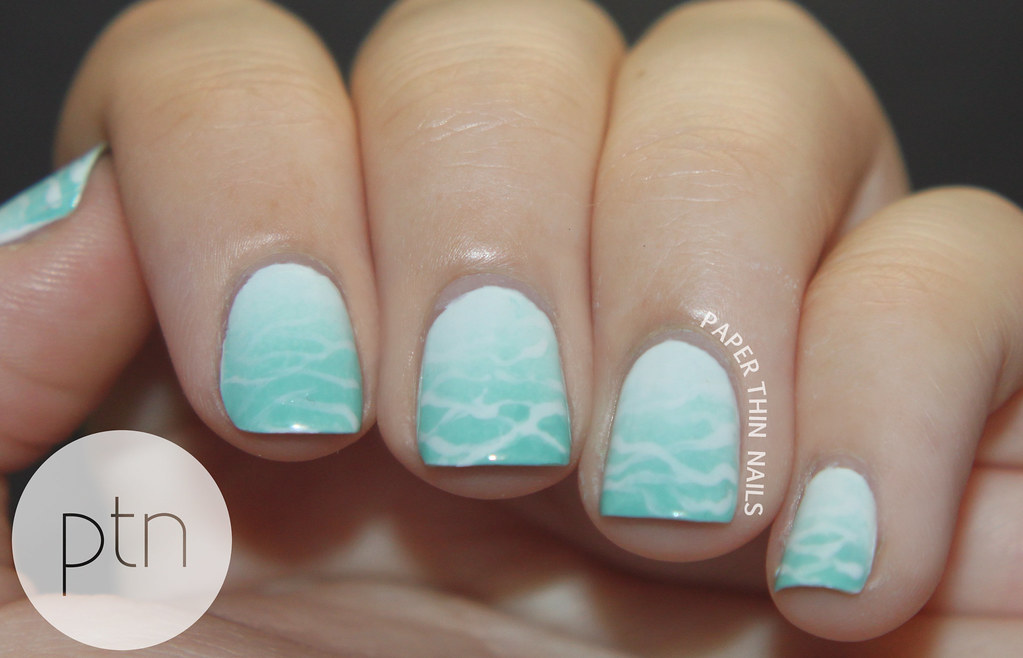
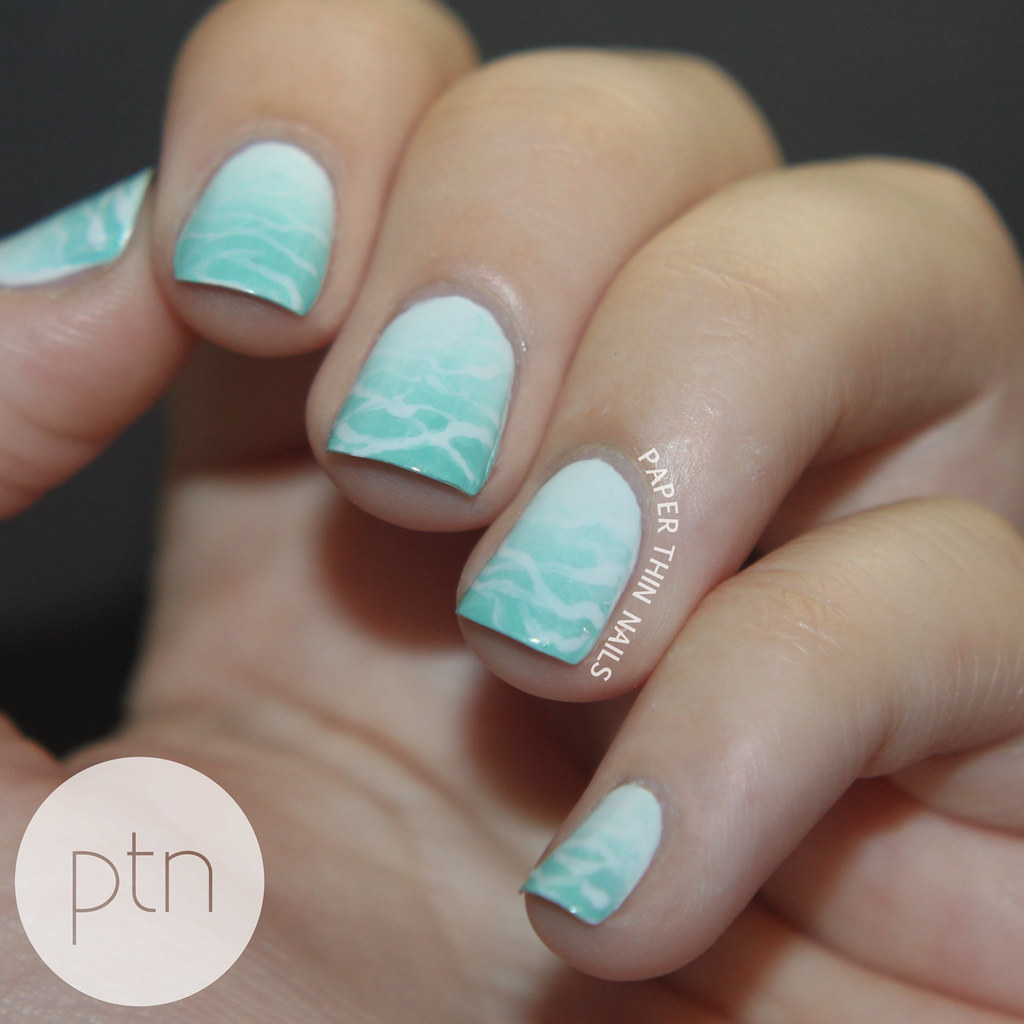
Overall, I'm really happy with how these nails turned out, and they're probably way better than anything I could freehand today. Even though I had a holiday on Monday, this week has been very exhausting and I'm just ready to get some rest before I have work tomorrow.
The polishes I used in this manicure are OPI Steady As She Rose and OPI Funky Dunky.


